Those of us working with podcasts know that one of the more effective ways to market individual episodes via social media are through audiograms.
For those unfamiliar with the term, audiograms are a still image with an audio file attached to it, overlaid with moving soundwaves or other graphic representations of sound (such as equalizer bars).
People scrolling through their social media feeds will rarely stop and click on an entire podcast episode (which can range from 30 minutes to two hours) without a strong reason for doing so.
Knowing this, podcasters create “breadcrumbs” to specific episodes by posting audiograms consisting of 30-seconds sound bites from the recording. These act as teasers to lead listeners to the actual podcast episode.
There are a number of ways to create audiograms, ranging from free to rather expensive. Since most podcasters I know are working on pretty tight budgets, this is a quick guide on how I create audiograms using the free level of a few apps.
- Audacity – https://www.audacityteam.org/
- Canva – https://www.canva.com/
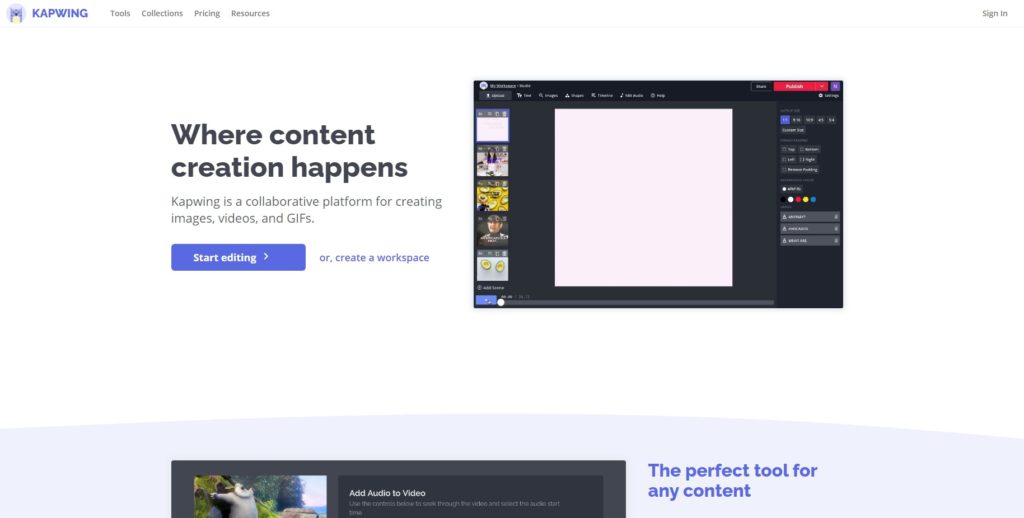
- Kapwing – https://www.kapwing.com/
Step 1 – Choose your audio files
Listen to your podcast episode and choose three or four 30-second blurbs. Make sure someone is saying something both interesting on its own, as well as indicative of what the rest of the episode is about. I use Audacity as my audio editing tool – it’s free, powerful, and (once you figure out how it works) pretty easy to use. Take each blurb you chose and save them as individual mp3 files.
Step 2 – Create your graphic
Unless you’re a great graphic designer, or can afford to pay one, you will probably need to find a free way to create your image. This is where Canva comes in handy. While there is a paid tier for the app, you can do quite a bit with the free version.
I use the Facebook Post template to start since that size works well for audiograms in both Facebook and LinkedIn. You can choose an existing template and customize it, or you can use a blank and create your own, unique look.
When designing your graphic leave one-third of the graphic blank – this is where your soundwave or equalizer bars are going to go (people tend to place soundwaves in the middle and bars on the bottom, but you can design it any way that works for you).
Create graphics for the sound files you created, then download the graphics to the same folder holding your audio.
Step 3 – Create your waveforms.
I can’t say enough about the app Kapwing. You can use this app for just about every basic audio or video need you to have. For instance, if the thought of complex audio editing software intimidates you, you can edit your sound files directly in Kapwing. The free tier is impressively extensive, and the paid version gives you even more options.
To complete your audiogram, choose Workspaces and click on New Content. Upload one of your graphics.

Now, on the top of the screen, choose Audio. Upload the audio file that goes with the graphic. You now have a still image with the sound blurb attached.
Finally, on the top of screen again, choose Elements, then on the right, choose Add a waveform. Select the file you just uploaded. Kapwing will add equalizer bars as a default (you can change the waveform to soundwaves if you prefer). You can move the wave form to wherever you want it on the graphic, you can change its size, you can change its color.
Once it’s the way you want, choose Export Video. It will take a minute to process and then you can download the completed audiogram to your computer.
But wait! There’s more!
One very cool thing that Kapwing can also do is add subtitles to your audiogram (I suggest not using waveforms AND subtitles – your graphic would look way too busy with both).
If you’d rather add subtitles to your image, instead of choosing Elements after you’ve uploaded your audio, choose Subtitles. You can then either type in what’s being said in the audio or choose the Auto-generate option (bear in mind that you will probably have to edit the results a bit). Like the waveforms, you the have ability to choose where the works appear, what color, what font, etc… You can even add background music!
With the paid version, you can even use Kapwing’s AI to translate your subtitles into different languages – again making sure you review the translations carefully.
What about videograms?
Thanks to the explosive adoption of video conference programs like Zoom, many podcasts are now recorded online with a video component. If you have a video-based podcast, you can market your program using video teasers.
Using Kapwing, you can pull a 30-60 second video clip from your podcast episode and save it as its own file.
Now, you can simply use the videoclip straight up as your teaser, or you can add some cool components to it.
One element I like to add is a progress bar – it shows your audience how long the video clip will run using a dynamic graphic element.
Upload your chosen video clip into Kapwing’s Studio page, click on Elements, and choose Progress Bar. You can move the bar to any part of the image, make it wider or narrower, change its color, etc…
I’ll also add intro and outro graphics to the video clip for more branding power.
If you’ve never created audiograms or videograms before and would like a bit of handholding through the process, or need some guidance about what to do with them once you have them, reach out to me and I’ll be happy to help.